Creating a Scenario
Navigation
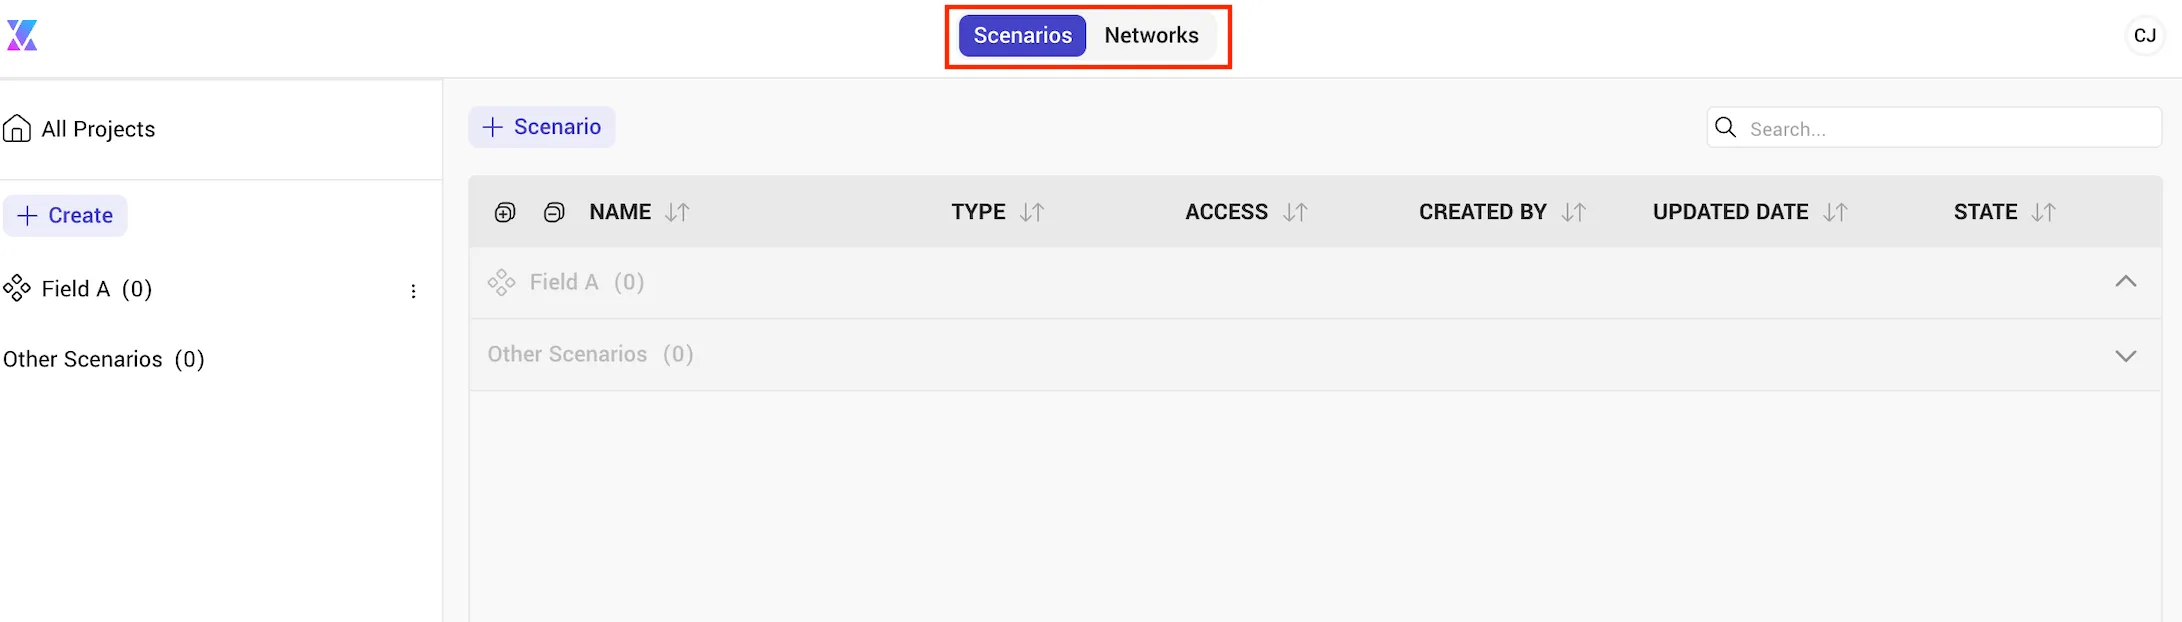
To create a scenario, first switch to the scenario view on the landing page of NetX. If you were previously in the network editor, you can click on the Xecta "X" icon in the top left corner of the page (first item in the breadcrumb).
Create a Project
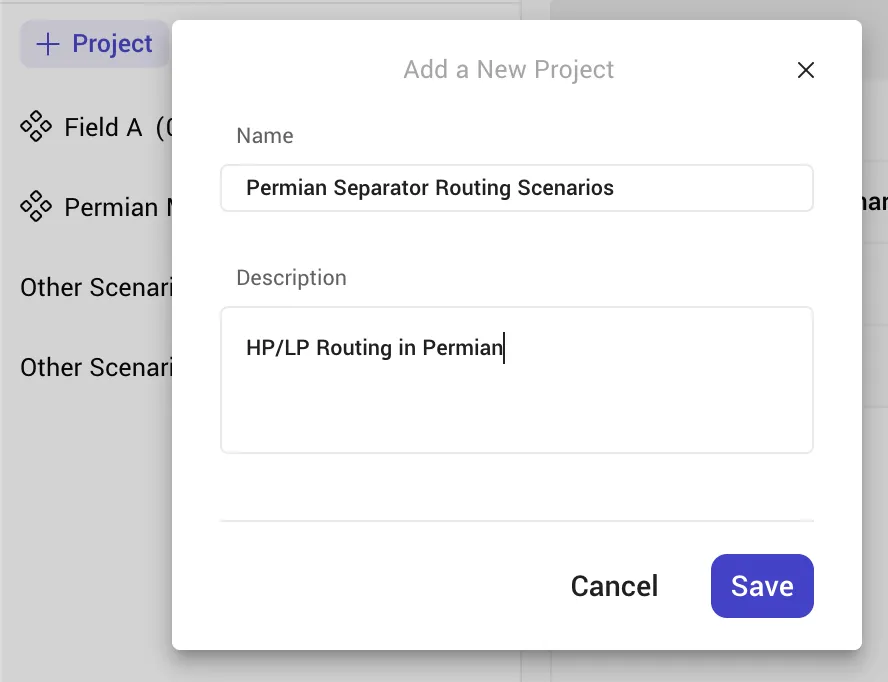
To facilitate organization, next we will create a project to organize our scenarios. The "+ Project" icon on the left allows you to create a new project. We will create one called "Permian Separator Routing Scenarios" for the sake of this exercise.
Create a Scenario
Next, click on the "+ Scenario" icon to open the scenario creation form
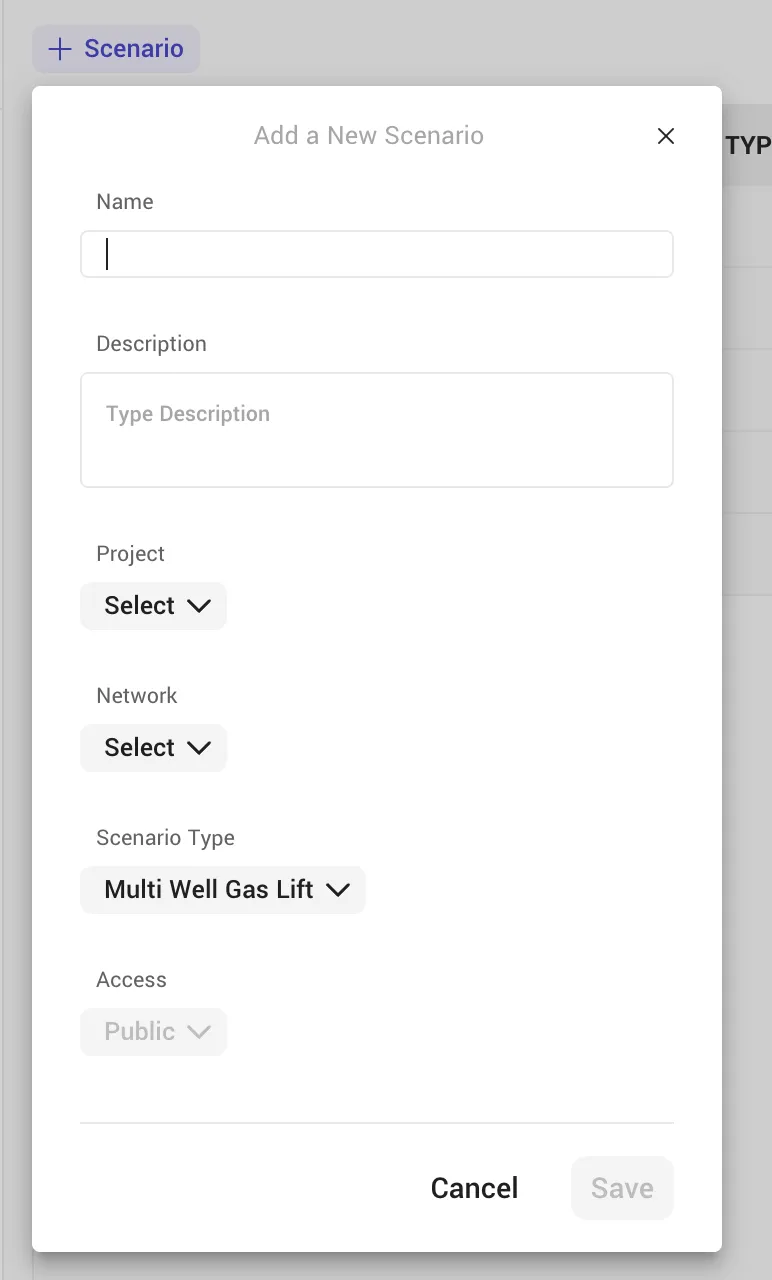
The scenario creation form has the following fields:
- Name - We recommend that you use a descriptive and useful name for the scenario. As you start to run many cases, the names will become important. For public scenarios, it's especially important to use good names and descriptions so others know what they're looking at.
- Description - The description adds context to the scenario so that yourself or other users are aware of creation details
- Project - If you have previously added a project, you can assign a scenario to that project here. Projects are optional, but useful for organization
- Network - The network from which you are creating the scenario. When you create the scenario, a copy of that network will be inserted into the scenario. Any changes to the topology on the scenario will not affect the parent network.
- Scenario Type - Depending on your subscription, various scenario types are available. Multi-Well Gas Lift and High Pressure / Low Pressure Routing are node-to-node (no pressure drop) allocation scenarios whereas Simulation, Calibration, and Optimization solve the network using full surface hydraulics.
- Access - Scenarios can have difference access levels. Public means anyone can see, edit, or use the scenario. Public read only means that only you can edit the scenario, but anyone can see and use it. Private means that only you can see, edit, or use the scenario.
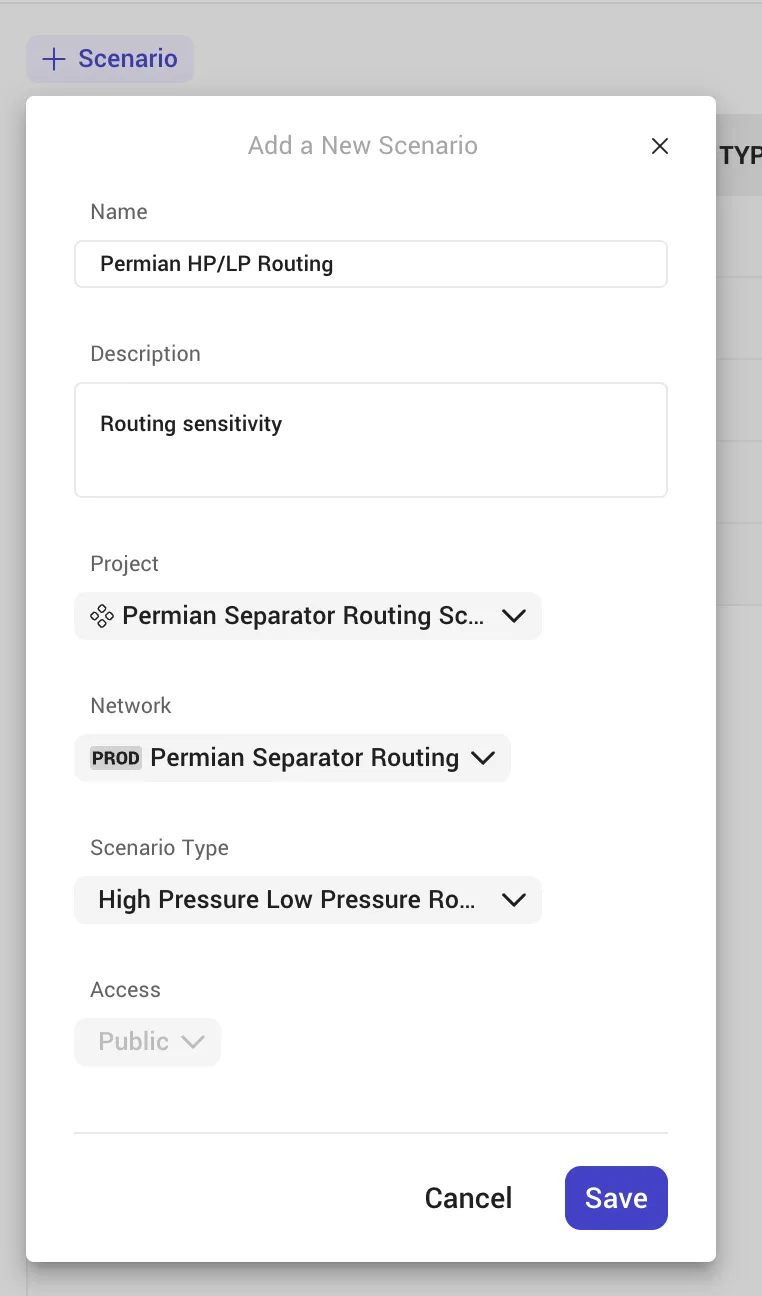
For this exercise, let's create a scenario called "Permian HP/LP Routing" and link it to the "Permian Separator Routing Scenarios" project we created previously. The network link will be "Permian Separator Routing", the type will be "High Pressure Low Pressure Routing", and we will leave the access "Public".
After saving, you will be redirected to the scenario editor, which will contain a copy of the network from which the scenario was created. See the next section for details about editing scenarios and modifying scenario specific settings.