mTLS & API Key Creation
You are responsible for safe storage and distribution of the Signed mTLS Certificate, and the API Key files generated by this tutorial.
The mTLS Certificate
The steps below will generate certificate signing request (CSR) and Private Key files. You generate these files and submit only the CSR file to Xecta for verification and signing. Once verified Xecta will return a signed PEM file which acts as a digital identity certificate. This certificate is then used to authenticate individual machine/server/devices with our servers. Our servers reject API requests made from machines that do not have these files installed.
You will receive a single certificate file from us: xecta-data-api.pem. You will also receive a text file which contains your API client ID and Client Secret
The steps below will also generate a Private Key file named xecta-data-api.key
DO NOT share this file with anyone, including Xecta
Testing the credentials
Once you receive your certificate and API keys you can use our Postman Tutorial or use the C# / Python quick start tutorials to test the credentials.
The steps below will generate your certificate submission. Once you submit your CSR files please allow 2 business days for verification and processing
1: Generate a Public / Private Key Pair and Certificate Signing Request (CSR) using OpenSSL
OpenSSL Required
The steps require OpenSSL to be installed on the machine that is generating the CSR. To install OpenSSL, follow the installation instructions at the end of this tutorial.
You may also use any other SSL/TLS library to generate a CSR, however the steps in the tutorial will not have the correct commands to do so.
You must have OpenSSL installed to continue. Use the shell command below to generate your private key and CSR.
openssl req -out xecta-data-api.csr -new -newkey rsa:2048 -nodes -keyout xecta-data-api.keyComplete the CSR Information similar to the example below. Your challenge password and optional company name can be left blank.
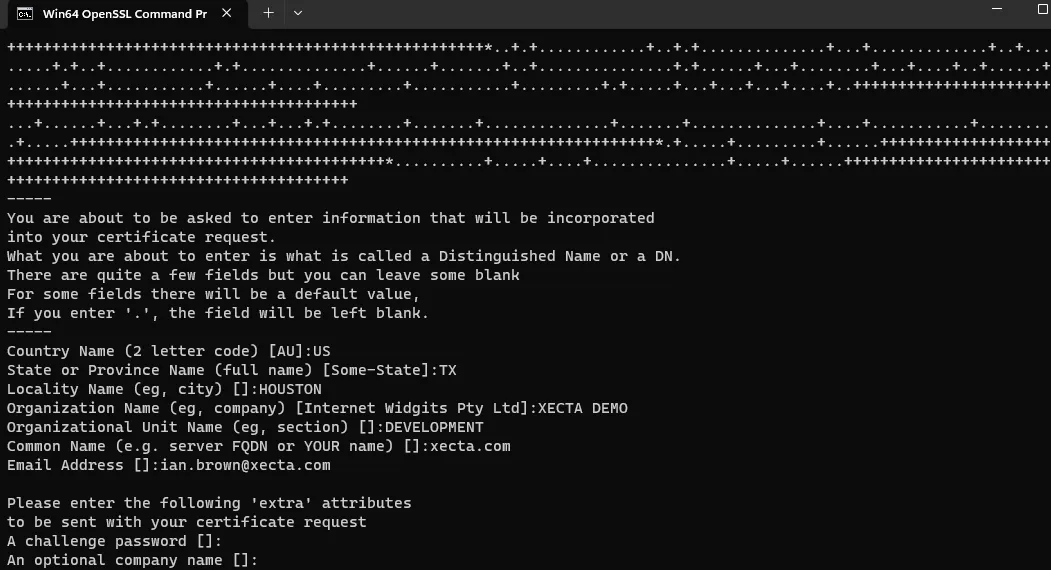
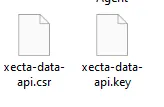
Open the directory where you ran the OpenSSL command from. There will be two files. A .CSR and .KEY file. Open the xecta-data-api.csr. If it was correctly generated it will follow the format below.
-----BEGIN CERTIFICATE REQUEST-----
MIIC6DCCAdACAQAwgYkxCzAJBgNVBAYTAlVTMQ4wDAYDVQQIDAVUZXhhczEQMA4G
MIIC6DCCAdACAQAwgYkxCzAJBgNVBAYTAlVTMQ4wDAYDVQQIDAVUZXhhczEQMA4G
EDAOBgNVBAMMB0t5bGVEZXYxJDAiBgkqhkiG9w0BCQEWFWt5bGUudmVzc2V5QHhl
Y3RhLmNvbTCCASIwDQYJKoZIhvcNAQEBBQADggEPADCCAQoCggEBALBGDRuA53Q2
XLGzWO2dKM5R3O8E5Yn3aM1DmE+9RmIUeMjU92pNw+QzzUHqfcE0KQ282e3yPc97
EDAOBgNVBAMMB0t5bGVEZXYxJDAiBgkqhkiG9w0BCQEWFWt5bGUudmVzc2V5QHhl
GGikavfUJqHbMI/tDzJFXURLzrWeAnnm6XaNOzZ7bvl8rAj+/hBryu7j9OVxHgsI
zcbAcQN6w3N2CRi3ktgEMhezyoZr8HbjRSMAfPdBenMZx8fpxeIElJXzulYEr96a
OTPVlAwVpXjUw5e9sgTQufJk4TOgPGBxSsxugexh2B5DpzrUJ4v0il2xXiVlhMQP
EDAOBgNVBAMMB0t5bGVEZXYxJDAiBgkqhkiG9w0BCQEWFWt5bGUudmVzc2V5QHhl
9w0BAQsFAAOCAQEAOamaIehbgOX8sOI8E/smyZG5nRGTBb05DxamgFtEnElI5A1j
DDtOa8Okfm+0/0KkhUIXKmrcTRCjoOg92b2DSpzsQwUw/NQRfpfH/3+WlZSvweop
VXM2bpaCH1QI8G0Mp8GTBnDc7g6fdNanQ1+YrnBH356qZMZArzY/eqZCzIdkTY7y
3W1YeDEfAyMPbA/eo+AqlZldh1vxdzRIiIC7Pg==
-----END CERTIFICATE REQUEST-----
The CSR content above is a demonstration file. You cannot use this CSR as your own submission.
2: Submit the CSR file to Xecta Support
Contact your account manager or our customer support team for instructions to securely transfer your CSR file to us. We can use a secure file share system provided by you (the customer), or a system provided by us (Xecta).
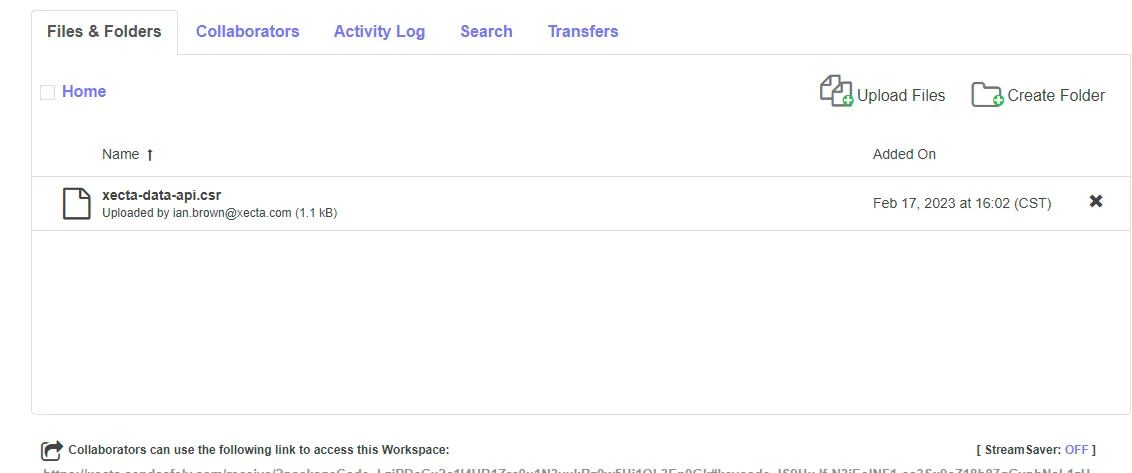
3: Retrieve and save the returned Certificate, Client ID and Client Secret
a .PEM File and a text file with API Keys will be sent to you via the secure file share which was used in Step 2
- A Signed Certificate (xecta-data-api.pem)
- The Client ID and Client Secret API keys for your production environment
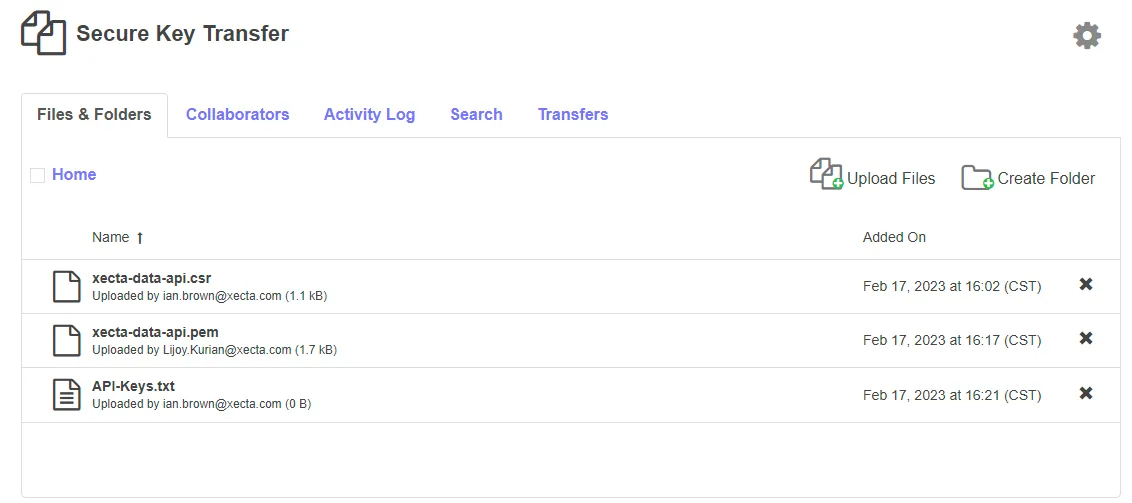
4: Test the Connection using the Postman Tutorial
Follow our Postman Tutorial to test your mTLS connection and API Keys
Common Connection Errors
HTTP Error Code | Error Message | Common Issue |
|---|---|---|
-- | ERR_CONNECTION_RESET | When you see this message, it typically means TLS not working |
403 | 403 Forbidden | This message means TLS is working, but the credentials you have entered are wrong |
200 | 200 OK | Valid TLS and Client Credentials |
OpenSSL Notes
To verify if you have OpenSSL installed go to your terminal or command prompt and type the following command:
openssl versionThis should return the version of OpenSSL you have installed on your machine
OpenSSL Installation for Windows
To install OpenSSL, download the library from the official OpenSSL website: https://slproweb.com/products/Win32OpenSSL.html
Download the latest Win32 OR Win64 OpenSSL executable:
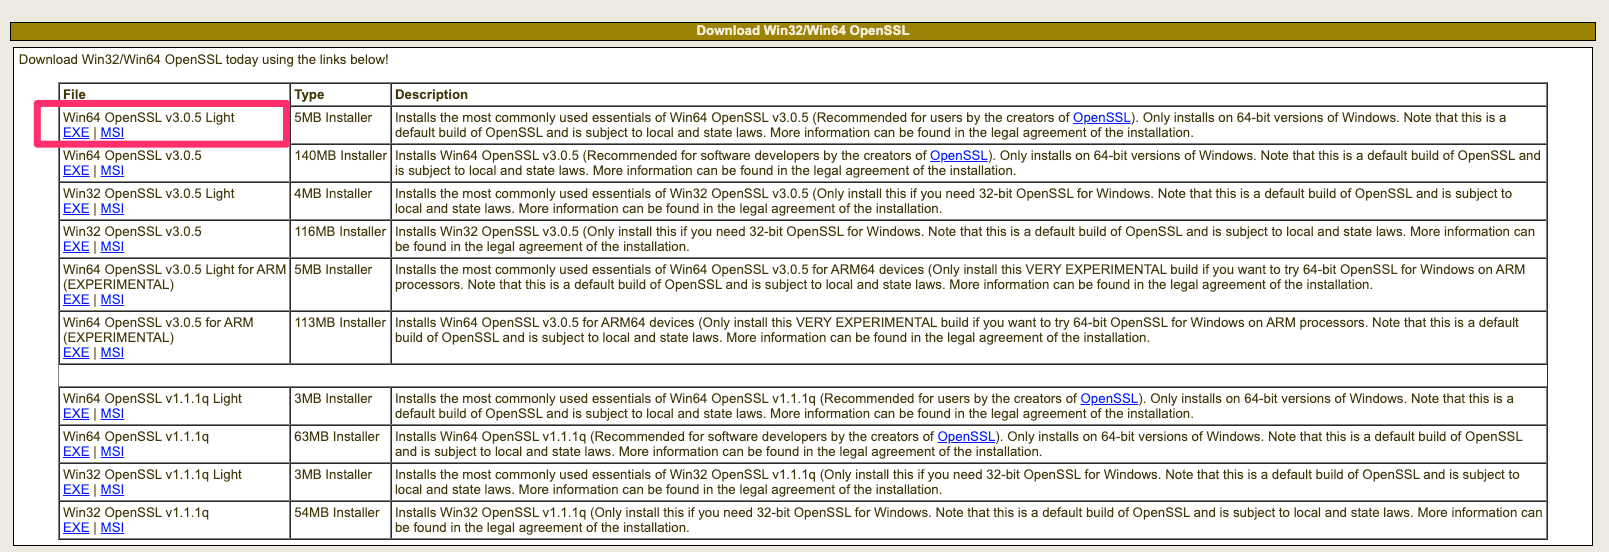
Run the executable file to start working with OpenSSL in the command prompt
OpenSSL Installation for Mac
macOS
If you are on macOS, you may already have an SSL client installed called libressl which works the same with the commands in this tutorial.
To install OpenSSL, download the library from the OpenSSL website: https://www.openssl.org/source/
Read through the "Downloads" content, then scroll down and download the latest stable version of OpenSSL.
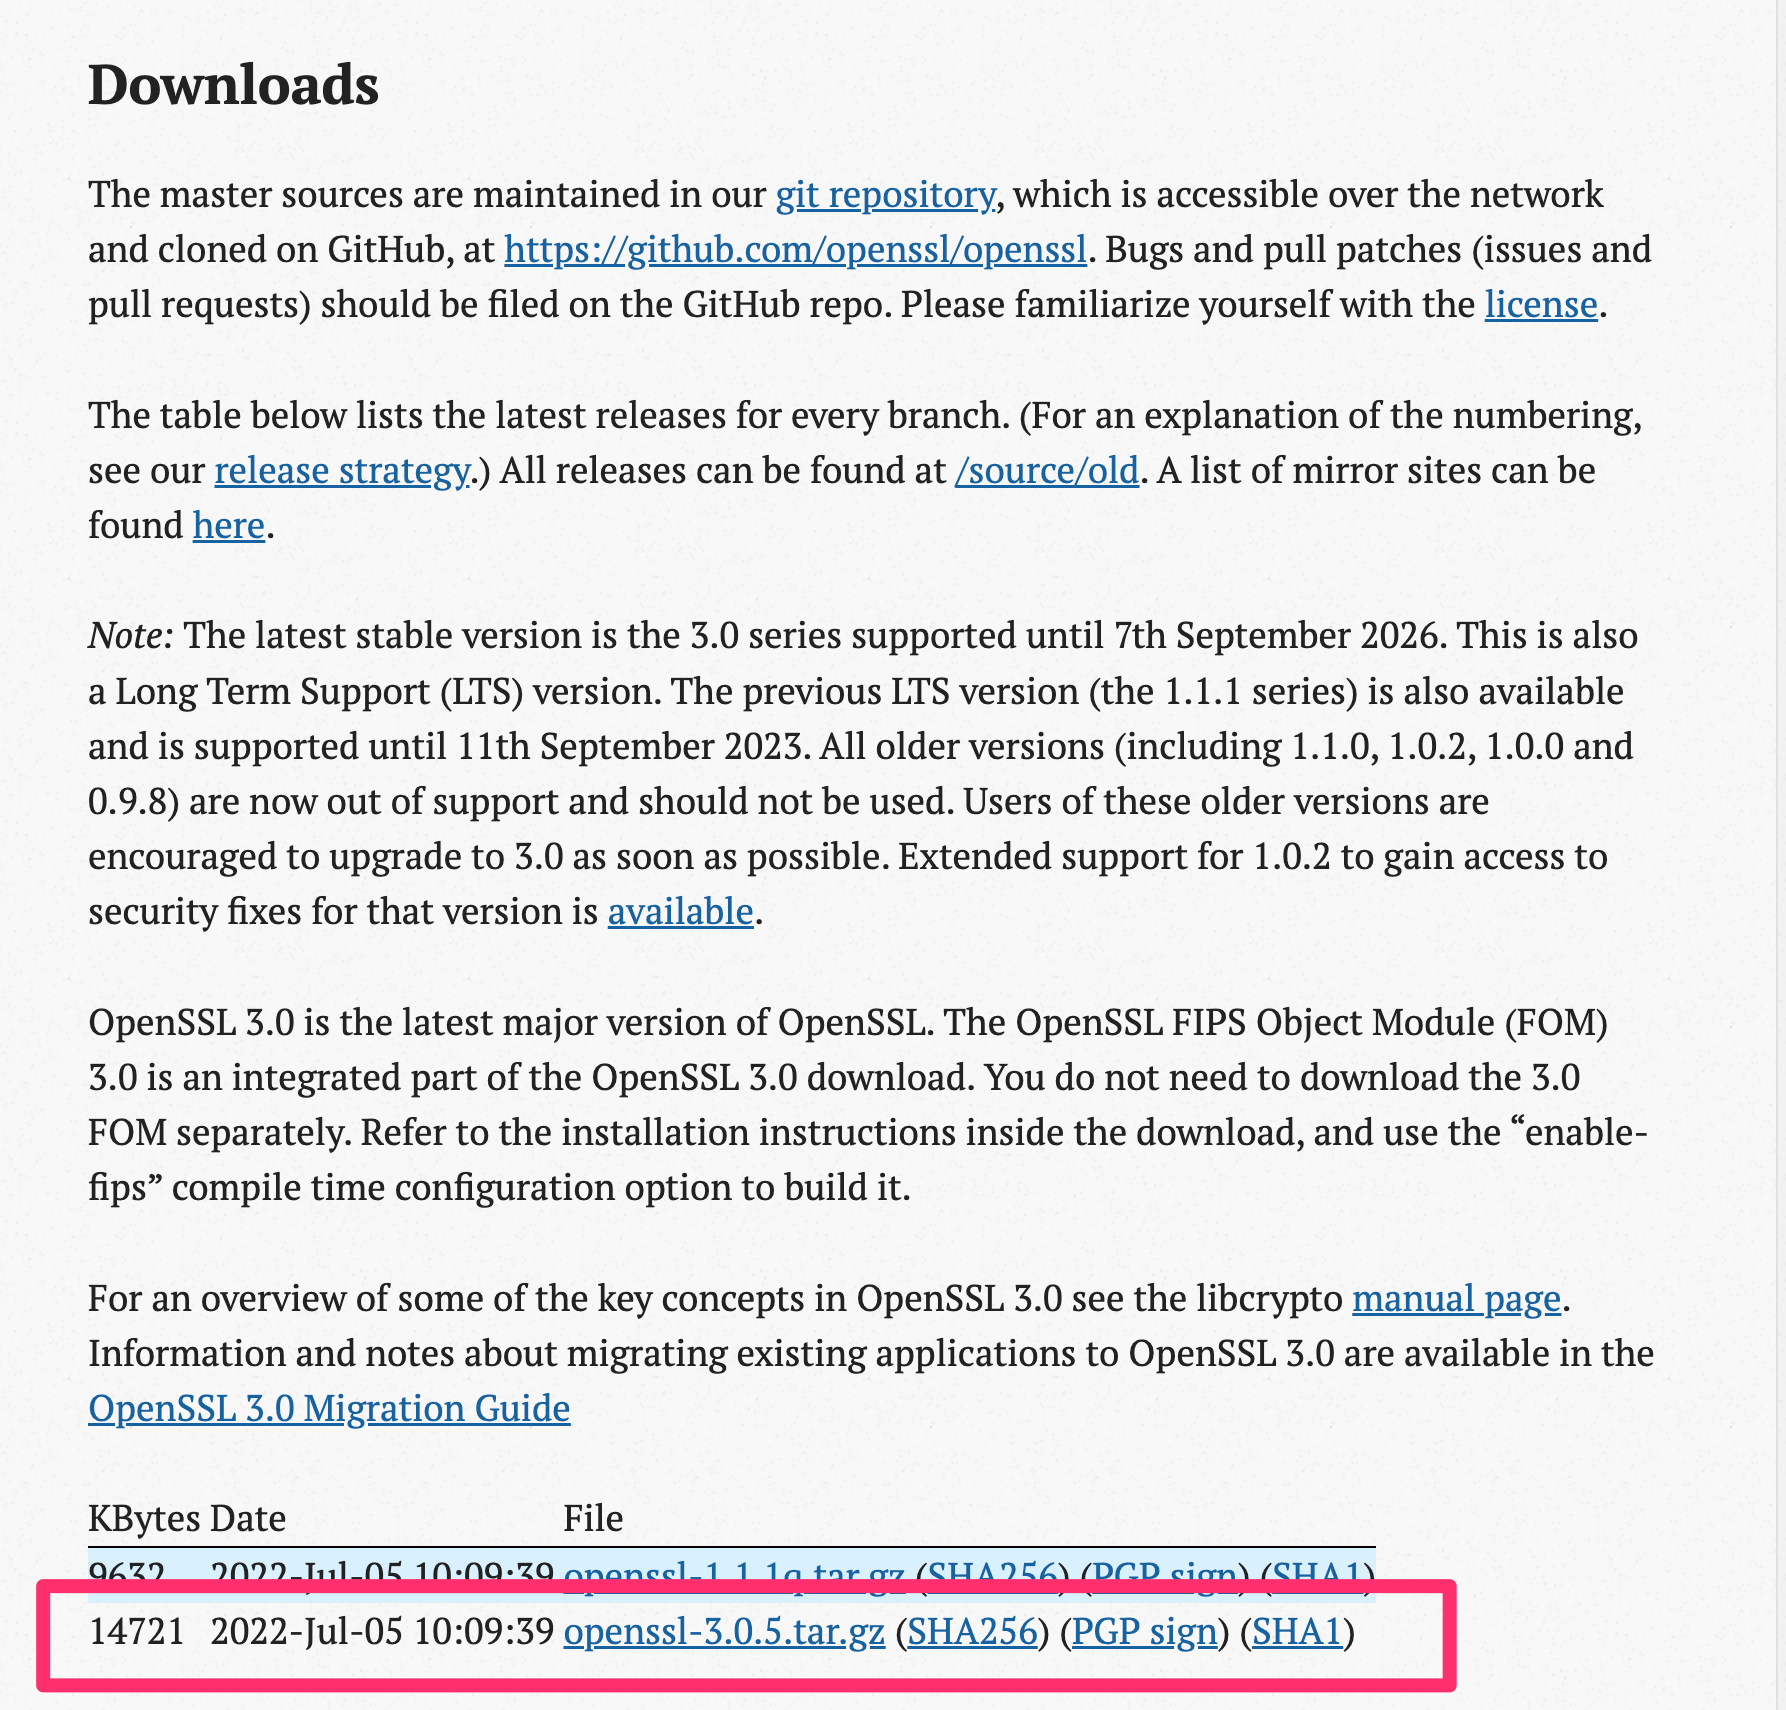
Once you download and install the package, you can verify it is installed with the command above in the "Check OpenSSL Version" tutorial